 Skip to content
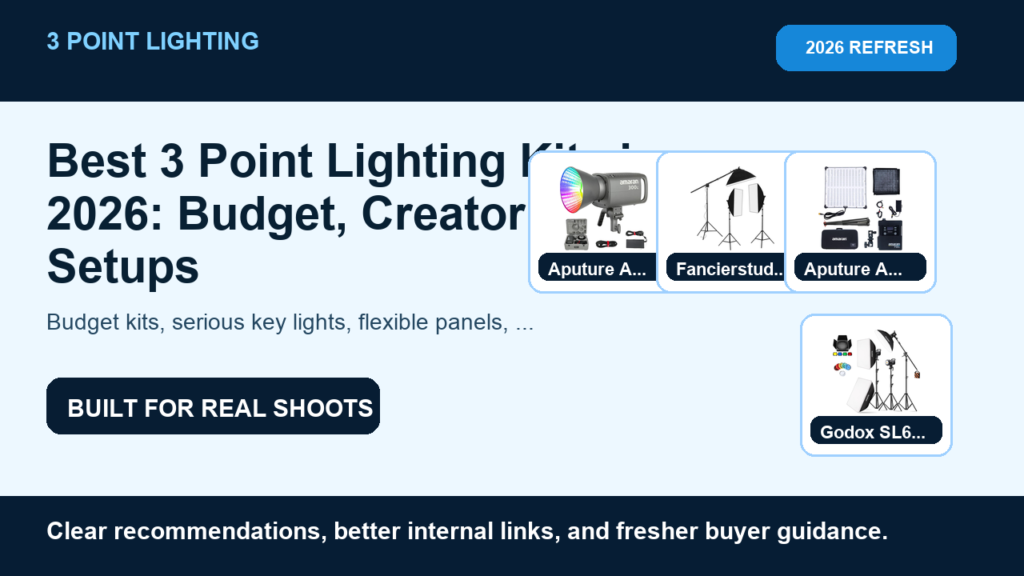
Choosing a 3 point lighting kit in 2026 should not feel like being dropped into a warehouse full of softboxes and told to make art by dinner. The job is simple: get a flattering key light, control the shadows with fill, separate the subject from the background with a back light, and stop making your footage look like it was filmed under a sad kitchen bulb.
This update keeps the original budget-friendly idea, but makes the recommendations more useful for real video work. If you want the technique side first, start with our three-point lighting setup guide. This page is the buying and kit-building version: what to buy, what to skip, and how to avoid paying for “complete kits” that are mostly stands, tiny bulbs, and optimism.
Quick Picks: Best 3 Point Lighting Kit Options
 Aputure Amaran 300c Amazon price checked: check live
 Best serious creator key light. Best for small studios, interview shooters, YouTube sets, and anyone who wants one strong Bowens-mount light that can grow with modifiers.
Check Aputure Amaran 300c on Amazon Fancierstudio Softbox + Boom Arm Kit Amazon price checked: check live
 Best cheap all-in-one starter kit. Best for beginners, small offices, basic talking-head setups, and anyone who needs a full kit before they need a perfect kit.
Check Fancierstudio Softbox + Boom Arm Kit on Amazon Aputure Amaran F22x Amazon price checked: check live
 Best flexible soft source. Best for interviews, tight rooms, travel productions, car interiors, and sets where a rigid light is annoying.
Check Aputure Amaran F22x on Amazon Godox SL60IID Three-Light Kit Amazon price checked: check live
 Best budget COB-style three-light kit. Best for creators who want Bowens modifiers, more control, and a cleaner upgrade path than bargain softbox kits.
Check Godox SL60IID Three-Light Kit on Amazon Aputure Amaran P60c Kit Amazon price checked: check live
 Best compact RGB panel kit. Best for small sets, accent lights, background color, product work, and creators who need flexible color without building a grip truck.
Check Aputure Amaran P60c Kit on Amazon| Pick | Best role | Amazon price checked | Best buyer | Be honest about |
|---|---|---|---|---|
| Aputure Amaran 300c | Best serious creator key light | check live | small studios, interview shooters, YouTube sets, and anyone who wants one strong Bowens-mount light that can grow with modifiers | not a full three-light kit by itself, so budget for stands/modifiers/fill separately |
| Fancierstudio Softbox + Boom Arm Kit | Best cheap all-in-one starter kit | check live | beginners, small offices, basic talking-head setups, and anyone who needs a full kit before they need a perfect kit | bulkier, less controllable, and not in the same league as modern COB or panel lights |
| Aputure Amaran F22x | Best flexible soft source | check live | interviews, tight rooms, travel productions, car interiors, and sets where a rigid light is annoying | usually works best as a key or fill, not as a complete kit unless you build around it |
| Godox SL60IID Three-Light Kit | Best budget COB-style three-light kit | check live | creators who want Bowens modifiers, more control, and a cleaner upgrade path than bargain softbox kits | not tiny, not battery-first, and still needs a real setup plan |
| Aputure Amaran P60c Kit | Best compact RGB panel kit | check live | small sets, accent lights, background color, product work, and creators who need flexible color without building a grip truck | panels are convenient, but they do not replace a large soft key when you need big flattering light |
What Actually Makes a Good 3 Point Lighting Kit?
A good kit is not just three lights. It is three controllable light sources, stands that will not wobble if someone breathes near them, modifiers that make faces look human, and enough power/control for the room. That last part matters. A small panel can be great for accent color and tight spaces. It can also be wildly underwhelming if you expect it to key a wide interview shot through a giant softbox.
For most Nitro-style work – interviews, YouTube videos, business promos, course content, real estate talking heads, product demos, and small corporate shoots – I would rather have one strong key light and two sensible support lights than a cheap three-pack that technically checks the boxes but fights you every time the room changes.
- Key light: the main light shaping the subject’s face. This is where quality matters most.
- Fill light: controls shadow density. It does not need to be dramatic; it needs to be useful.
- Back light / hair light: separates the subject from the background so the shot has depth.
- Modifiers: softboxes, grids, diffusion, and reflectors are what turn raw brightness into usable light.
- Control: dimming, color temperature, app control, Bowens mount support, and RGB all matter more when you shoot often.
Best Overall Creator Setup: Build Around the Aputure Amaran 300c
Aputure Amaran 300c is the one I would build around if the goal is a cleaner creator/interview setup instead of a bargain-box experiment. It gives you a strong key light, RGB flexibility, Bowens-mount modifier support, and enough output to work in more rooms without immediately yelling at your ISO.
Straight up: this is not the cheapest path. It is also not a full three-light kit by itself. But a serious key light solves the biggest lighting problem first. Pair it with a softer fill, a small back light, and a proper stand, and the whole setup gets more professional very quickly.
- Use it when: the key light needs to look polished on interviews, YouTube sets, testimonials, and paid client work.
- Do not buy it alone and call the kit done: add a modifier, stand, and either reflectors or support lights.
- Better than cheap kits because: you get more output, better control, and a cleaner upgrade path.
Best Cheap Complete Kit: Fancierstudio Softbox + Boom Arm Kit
Fancierstudio Softbox + Boom Arm Kit is still here because sometimes budget reality walks into the room wearing boots. If you need a full starter kit for simple talking-head videos, small business content, or a temporary home studio, it gets you stands, softboxes, and a boom-style back/hair light in one purchase.
The frank version: cheap softbox kits are not magic. They take space, the stands are usually not what you would call confidence-inspiring, and the control is limited. But for beginners, the biggest improvement is often simply having lights in the right positions instead of relying on whatever the ceiling decided to do that day.
- Use it when: you need the whole basic shape of a 3-point setup for as little money as possible.
- Skip it when: you shoot paid work regularly, need fast setup, or want precise dimming/color control.
- My take: good enough can be a useful phrase. It should not become a religion.
Best Flexible Soft Source: Aputure Amaran F22x
Aputure Amaran F22x makes sense when the room is annoying. Tight office? Car interior? Small set? Low ceiling? A flexible mat light can go places a normal COB light and softbox setup cannot. It is excellent as a key or fill when softness and placement matter more than brute-force output.
This is the kind of light that can make a small creator setup look intentional. It is especially useful for interviews where you want a soft wrap without building a giant light stand sculpture in the middle of the room. It is not the bargain path, but it is practical.
Best Budget COB-Style Three-Light Kit: Godox SL60IID Three-Light Kit
Godox SL60IID Three-Light Kit is the better budget path if you want a kit that behaves more like a real production setup. Bowens-mount lights give you modifier options, the light quality is easier to shape, and the whole system feels less like a one-time Amazon panic purchase.
The tradeoff is size and setup. Three COB lights with stands and softboxes take space. You do not want to casually drag this into every tiny office unless you have a plan. But for creators who can leave a studio setup built, this is a stronger long-term buy than the ultra-cheap softbox lane.
Best Compact RGB Panel Kit: Aputure Amaran P60c Kit
Aputure Amaran P60c Kit is not the classic big-softbox answer. It is the compact/color/control answer. Panels are great for accents, background color, small product scenes, and quick fill. If your videos need a little style without turning the room into a full production stage, this kit is useful.
Just do not expect small panels to behave like giant soft sources. For beauty/interview key light work, bigger diffusion usually wins. Use the P60c kit when color, portability, and flexible placement are the point.
How I Would Build the Kit by Budget
| Budget | Buy path | What I would avoid |
|---|---|---|
| Under $200 | Fancierstudio Softbox + Boom Arm Kit if you need everything in one box | Pretending it is a pro kit. Learn placement first. |
| $400-$700 | Godox SL60IID Three-Light Kit or one strong key plus reflectors | Buying three weak lights instead of one useful key. |
| $700-$1,200 | Aputure Amaran 300c as the key, then add fill/back lights | Ignoring modifiers, stands, sandbags, and power. |
| Small/tight rooms | Aputure Amaran F22x plus a compact support light | Overbuilding a rig that physically does not fit. |
| Color/stylized sets | Aputure Amaran P60c Kit for background/accent control | Using RGB as a substitute for flattering key light. |
Buying Rules Before You Add Anything to Cart
This is the part where the cart usually gets messy. A light looks cheap, then the stand is weak. A kit looks complete, then the modifier is tiny. A panel looks convenient, then you realize it cannot soften a face the way a larger source can. None of that means the product is bad. It means the job was not defined clearly enough before buying.
For interviews and client videos, I would prioritize a strong controllable key light first, then support it with a reflector, dim fill, and back light. For a home YouTube set, repeatability matters more than raw power. For product videos, control and flags matter more than just brightness. For quick social content, setup time may matter more than having the mathematically perfect three-light diagram.
- Do not buy by wattage alone. Output helps, but beam angle, modifier size, distance, color accuracy, fan noise, and dimming behavior matter too.
- Do not ignore stands. A good light on a scary stand is still a scary setup. Sandbags are not decorative.
- Do not treat RGB as a shortcut. Color is useful for accents. It does not excuse ugly key light.
- Do not buy a boxed kit just because it says studio. Some bundles are useful. Some are retail confetti with a light bulb attached.
- Do not forget the room. White walls bounce light everywhere. Dark rooms need more control. Low ceilings limit placement.
What Accessories Matter More Than People Think
The accessory pile is not glamorous, but it is where a lighting kit becomes dependable. A softbox or lantern changes the feel of the key. A grid keeps spill off the background. A reflector can become fill without needing another powered light. A clamp can save a tiny room. Extension cords and cable management prevent the whole set from becoming a tripwire convention.
If you only have budget for lights and nothing else, hold a little money back. A slightly cheaper light with a usable stand and modifier can beat a better light mounted badly. Lighting is physical. Gravity participates whether you invited it or not.
| Accessory | Why it matters | Buy this before |
|---|---|---|
| Softbox / diffusion | Makes faces look more natural and less harsh | A third random light |
| Grid | Controls spill and keeps backgrounds cleaner | Another RGB effect |
| Reflector / bounce | Creates fill without adding more powered gear | A second weak panel |
| Sandbags | Keeps stands from becoming an incident report | Decorative accessories |
| Extension cords / power strip | Lets you place lights where they should go | A bigger light you cannot position |
| Clamps / small grip | Solves awkward rooms and fast setups | A fancy case you never use |
Setup Templates for Real Shoots
For a client interview, put the key light close and slightly above eye level, 30 to 45 degrees off-axis. Use fill only until the shadows look intentional, not erased. Put the back light behind and opposite the key if you can, aimed at shoulders or hair. Keep the background alive with a practical lamp or a small accent light, but do not let it become brighter than the subject unless chaos is the brand.
For YouTube, simplify. The best setup is the one you can rebuild without turning every upload into a construction project. Mark stand positions with tape. Save light settings. Keep the camera, mic, and chair in repeatable positions. Consistency makes the channel look more expensive than it is.
For product videos, separate the product from the background and watch reflections. A shiny object will expose lazy lighting immediately. Use larger soft sources, flags, and controlled highlights. This is where the flexible mat and compact RGB panels become useful, because you can sneak light into places a big fixture cannot go.
| Shoot type | Key light | Fill | Back/background | Nitro note |
|---|---|---|---|---|
| Talking-head YouTube | Soft key close to subject | Reflector or dim panel | Small accent or background practical | Repeatability beats a new setup every episode |
| Corporate interview | Large soft key with control | Subtle fill or negative fill | Clean separation from background | Make the subject look credible, not dramatic by accident |
| Product demo | Soft directional key | Bounce or controlled fill | Background light or edge highlight | Watch reflections before you press record |
| Small office shoot | Flexible/compact source | Wall bounce or reflector | Tiny back light if space allows | The room decides half the setup |
| Real estate intro | Soft key balanced with room light | Minimal fill | Preserve the location context | Do not make the room look like a cave or a showroom lie |
The Setup I Would Actually Use
For a practical paid interview setup, I would start with a strong soft key 45 degrees off the subject, a gentle fill on the opposite side, and a back light aimed at shoulders/hair or the background. Keep the key light slightly above eye level, not blasting straight into the face like an interrogation scene. If the subject has glasses, raise or feather the key until reflections stop becoming the star of the video.
The camera side matters too. If you are balancing lighting with motion, review the frame rate guide so your shutter speed and flicker control make sense. If you are composing a stronger scene, pair this with the camera angles guide and camera movement guide. Lighting fixes a lot. It does not fix a bad angle, a messy background, or a camera parked at nose-height like it is filing a complaint.
- Interview default: big soft key, gentle fill, subtle back light, practical background detail.
- YouTube default: key light close, fill from monitor/reflector or dim panel, color/accent light behind.
- Product default: soft key, controlled fill, separate background light, flags/negative fill for shape.
- Real estate talking-head default: key the person, preserve room ambience, avoid making windows nuclear.
FAQ
Do you need three actual lights for three-point lighting?
No. You need three functions: key, fill, and separation. Fill can come from a reflector, bounce card, practical light, or dim panel. A back light can be a small source. The point is control, not owning three identical rectangles.
Should beginners buy a cheap complete kit or one better light?
If you are learning and need the whole setup, Fancierstudio Softbox + Boom Arm Kit is a fair starter. If you already know you will shoot often, one better key light like Aputure Amaran 300c plus modifiers is usually the smarter long-term path.
Are RGB lights necessary for video?
No. RGB is useful for backgrounds, accents, music videos, product looks, and branded color. It is not required for clean interviews. White light quality and placement still matter more than making the wall blue because the app has a slider.
What is the biggest beginner mistake with 3-point lighting?
Putting every light at full power and pointing them directly at the subject. Softness, angle, distance, and ratios matter. Three lights used badly can look worse than one light used well.
What should I buy after the lights?
Better stands, sandbags, extension cords, diffusion, grids, clamps, and a reliable audio setup. Lighting is only part of the kit. Bad sound can make beautiful lighting feel irrelevant, which is rude but true.
Final Verdict
If you are buying your first 3 point lighting kit, start with the setup you will actually use next week. Fancierstudio Softbox + Boom Arm Kit is the cheap full-kit lane, Godox SL60IID Three-Light Kit is the stronger budget production lane, and Aputure Amaran 300c is the smarter key-light foundation if you want a setup that can grow. The best buy is not the one with the most pieces in the box. It is the one that makes your next shoot faster, cleaner, and less embarrassing when you open the footage in the edit.
That is the whole point. Lighting gear should make decisions easier on set. If a kit creates more confusion than control, it is not a deal. It is a box of future friction with free shipping.


